Blog
Top 5 Ways to Know Your Image Quality Is Scalable for Wall Printing
When printing large-format graphics with a professional UV wall printer like the NWP GT3200, one of the most common mistakes happens before the printer even moves.
The problem?
Trying to enlarge a low-quality image to wall size.
Not every file is scalable. And if you don’t check first, you’ll end up with:
- Blurry edges
- Pixelation
- Muddy colors
- Unprofessional results
Here are the Top 5 ways to know your image quality is truly scalable before committing to a full wall print.
1⃣ Check the DPI at Full Print Size (Not the Original Size)
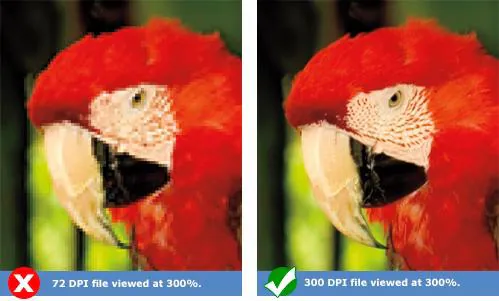
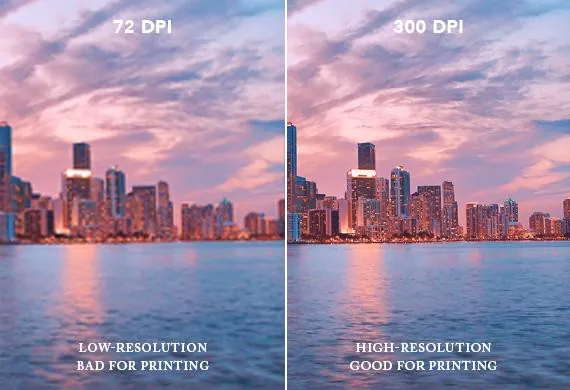
An image might say “300 DPI”… but that doesn’t mean it will print well at 8 feet wide. You must check the resolution at the final print dimensions.
How to test:
- Open the file in Photoshop
- Go to Image Size
- Enter your final wall dimensions
- Uncheck “Resample.” Now look at the DPI.
What you want:
-
100–150 DPI minimum at final size
- 150+ DPI for high-detail images
- Below 72 DPI = visible softness
If the DPI drops too low when scaled up, it’s not truly scalable.
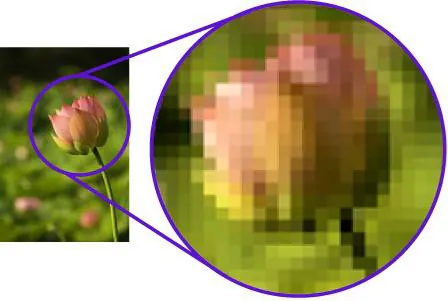
2⃣ Zoom to 200–300% and Inspect for Pixel Breakdown
Your monitor hides flaws at normal zoom. Zoom in aggressively.
If you see:
- Square pixel blocks
- Jagged curves
- Blurry edges
- Compression artifacts
Those issues will multiply when printed large.
Rule: If it doesn’t look sharp at 200% on screen, it won’t look sharp on a wall.
3⃣ Identify Vector vs Raster Graphics
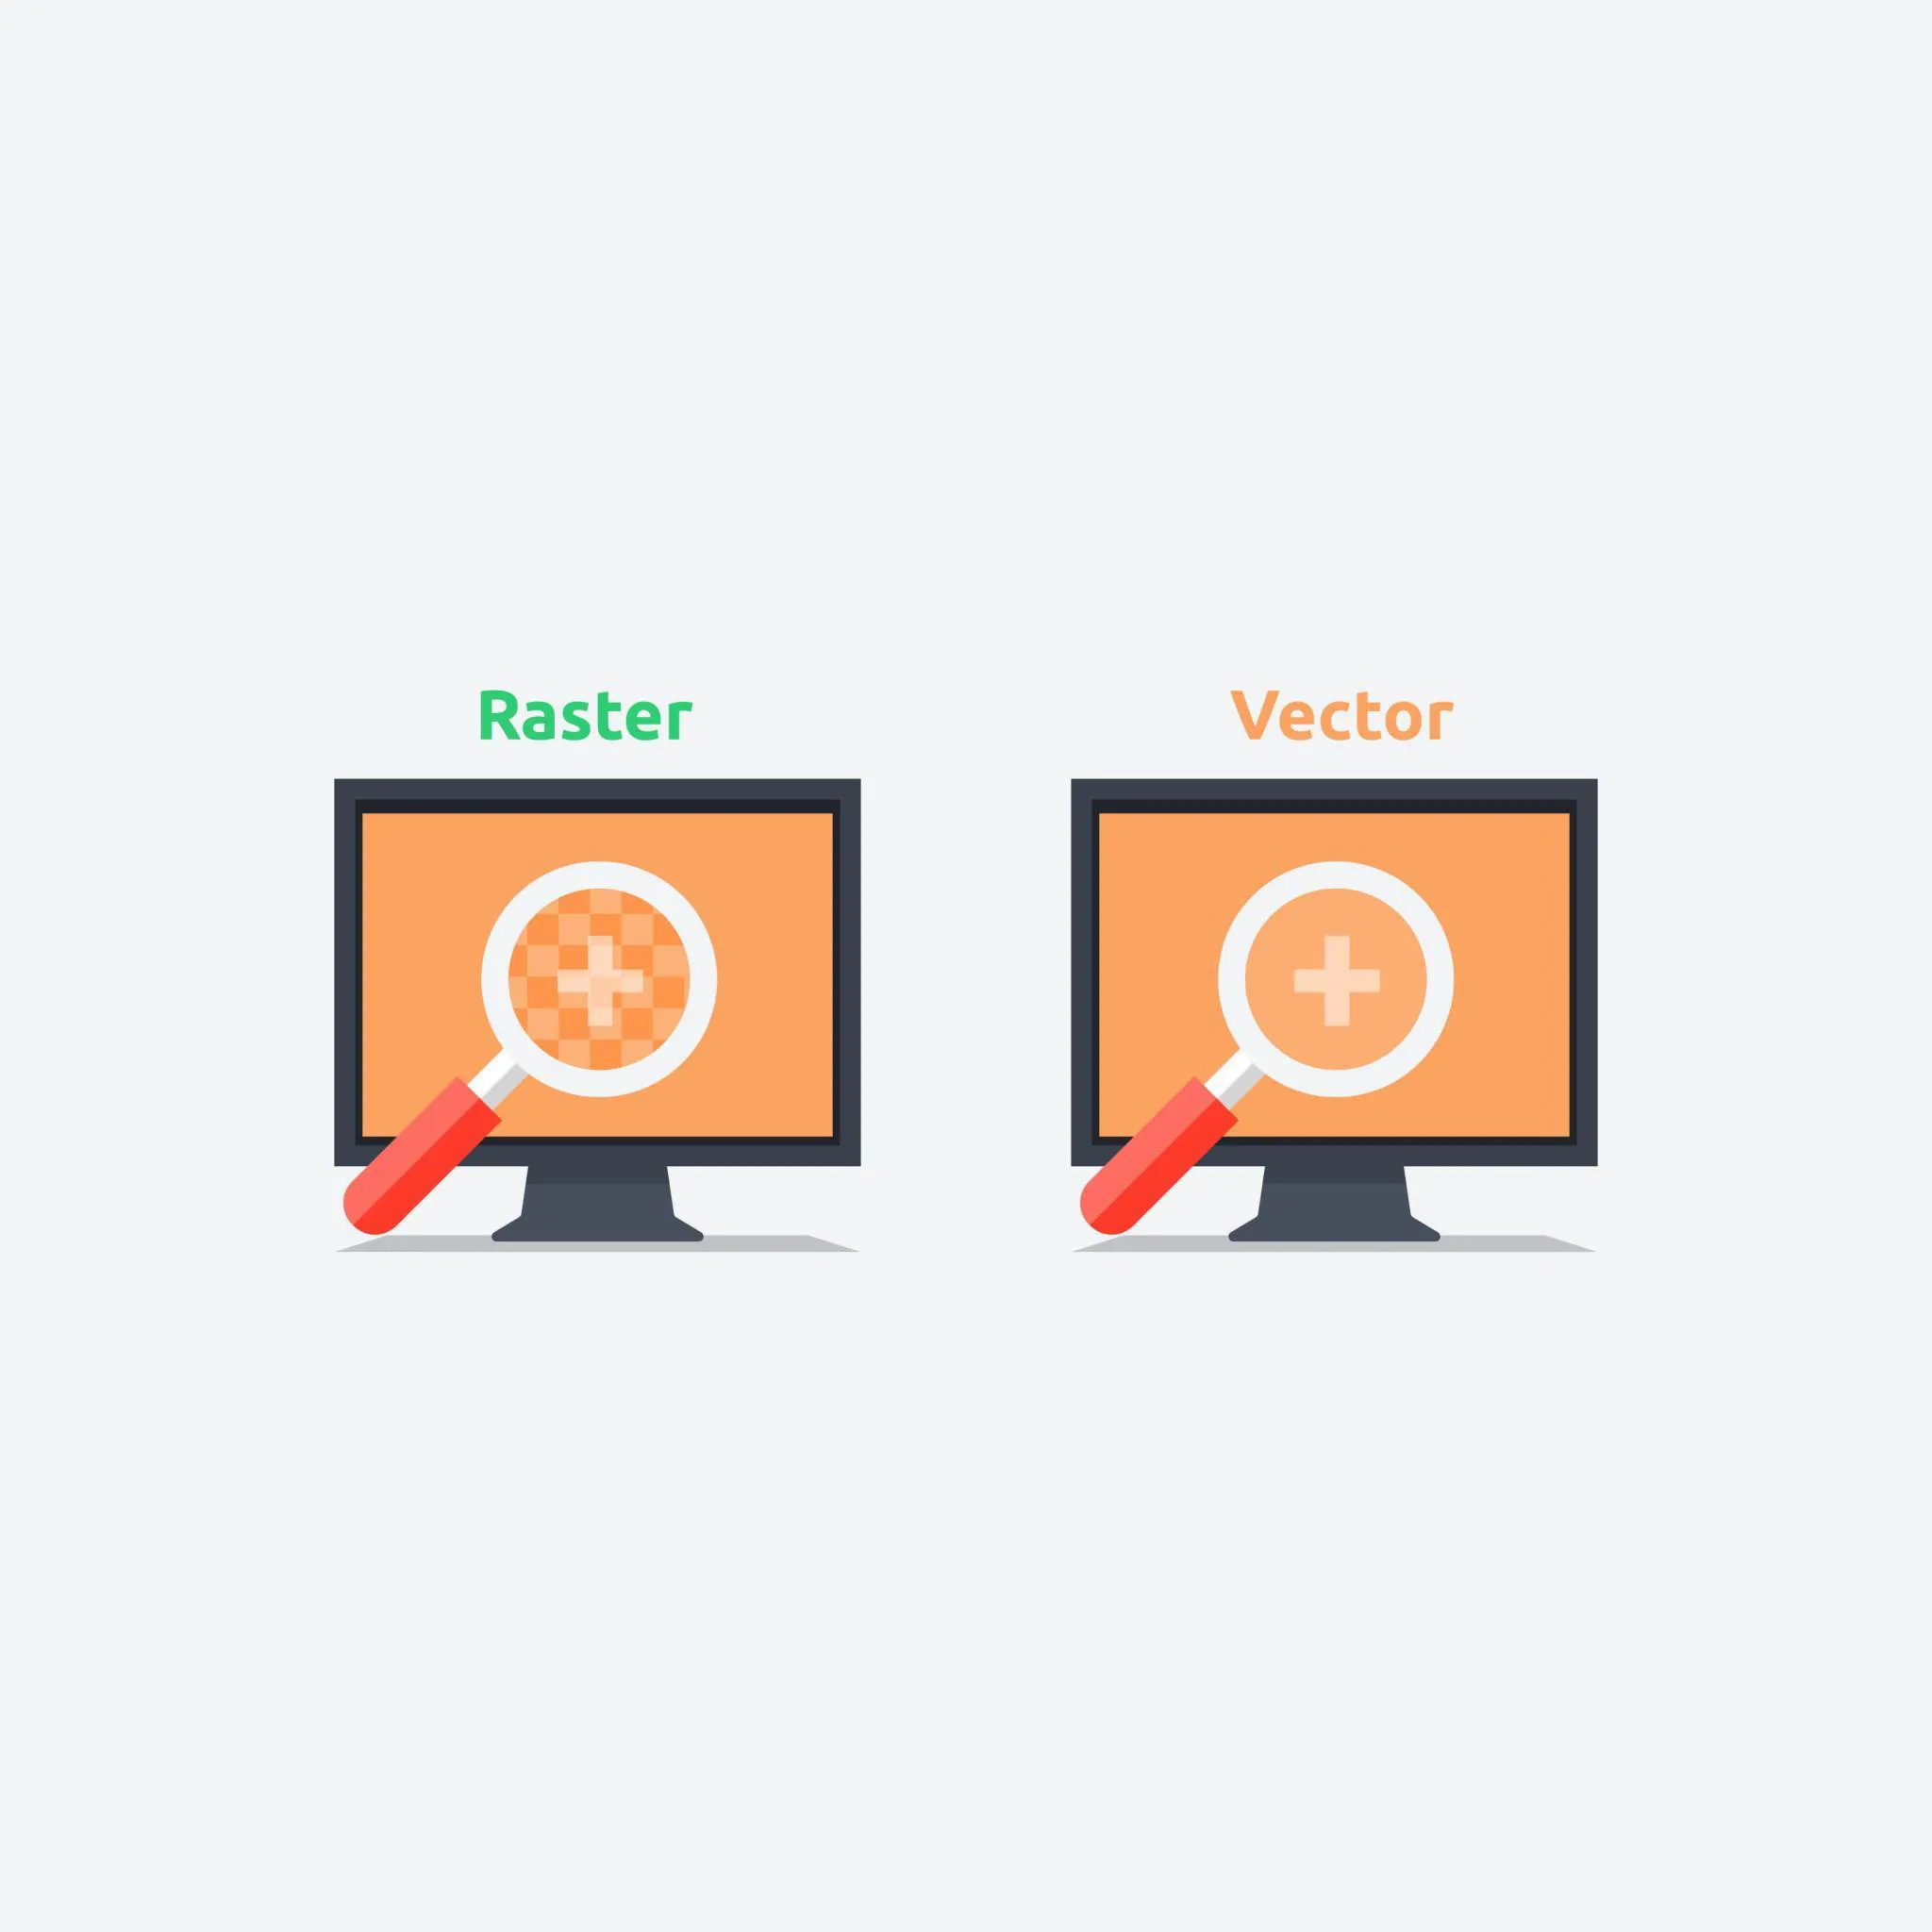
Logos and typography should always be vector when possible. Vector files (AI, EPS, SVG):
- Scale infinitely
- Maintain sharp edges
- Print clean at any size Raster files (JPEG, PNG):
- Contain fixed pixels
- Lose quality when enlarged
If a client sends a screenshot of a logo from a website, that file is likely not scalable.
For professional results using the NWP GT3200 from National Wall Printers, vector artwork is always preferred.
4⃣ Watch for Over-Compression & Social Media Downloads
Images downloaded from:
- Websites
Have usually been compressed multiple times.
Even if the file is large in dimensions, compression can cause:
- Color banding
- Blotchy gradients
- Soft edges
Zoom in and look at gradients and skin tones.
If transitions aren’t smooth on your screen, they won’t magically smooth out on the wall.
5⃣ Print a Small Test Section Before Full Scale
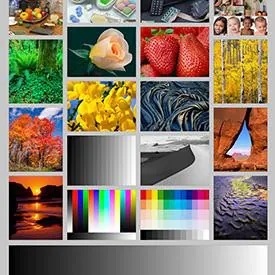
Before committing to a 10-foot wall:
Print a 12” x 12” test section of:
- A face
- Text
- Fine detail
- Gradient area
Then step back to the intended viewing distance. This test will tell you:
- If detail holds
- If colors shift
- If texture interferes
This one step protects your ink, time, and reputation.
Bonus Tip: Design for Viewing Distance
A wall graphic is not a phone screen. If the design will be viewed from:
- 6–10 feet away
You can get away with slightly lower DPI.
If it’s:
- Eye-level detail
- High-end commercial branding
- Close-up photography Higher resolution becomes critical.
Final Thoughts: The Printer Reproduces — It Doesn’t Repair
A professional wall printer like the NWP GT3200 will faithfully reproduce whatever file you feed it.
That means:
- Bad files equal bad prints.
- Good files get printed beautifully.
Understanding image scalability separates hobby operators from professionals.
If you want consistent, high-end results, image inspection must become part of your standard workflow — before the machine ever turns on.
To Learn more Visit www.nationalwallprinters.com